How to Lay a Solid Wood Floor
20th Dec 2022
Installing a new solid wood floor can be intimidating for even the most capable DIY’ers. Expensive products and solid wood flooring not having designs for easy installation such as click laminate flooring means that some planning is required when approaching this task - to ensure a fantastic finish. In this post, we look at some of the things you need to do when laying a solid wood floor and some of the tools you will need to do the job correctly.
Solid Wood Floor Tools
- PPE (Including Knee Pads)
- Tape Measure & Pencil
- Mitre Saw & Guide
- Wood Floor Adhesive
- Trowel
- Flooring Sealer
- Underlay
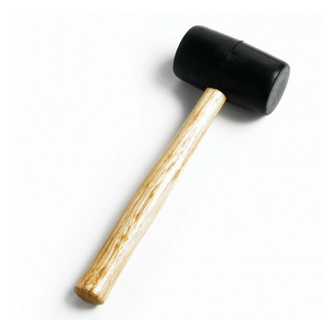
- Rubber Hammer
- Nails
Measure the Floor
The first step when installing a solid wood floor is to measure your flooring space and order the correct floorboards you need.
Allow the Wood to Settle & Acclimatise
As tempting as it is to lay your new solid wood floor immediately, several steps need to be taken to achieve the best possible finish. The first step is to let the wood acclimate to the room's humidity and temperature. Leave the wood in the room for a week before laying it.
Prep the Subfloor
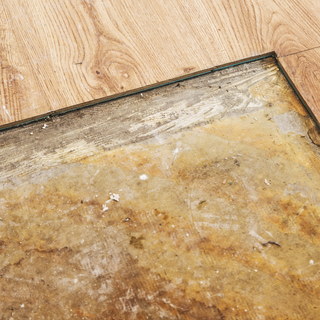
Ensure that the subfloor you are laying the wood floor on top of, is level and ready. If it’s a concrete floor which is not level, use a levelling compound. Also, ensure that the floor is clean and free of debris before laying the flooring.
Varnish The Wood
It’s a good idea to layer varnish on your solid wood flooring to protect it from wear and tear, including scuffs, which happen over time. Varnishing helps keep your wood floor looking it’s best. Three coats is recommended, with more coats for high-traffic areas.
Lay the wood!
Start from the corner of the room furthest away from your door - and begin to lay the first row of boards - remember to leave enough room for the panels to expand. If you are using boards with tongue and groove edging, make sure that the groove is facing the wall. You can then nail or glue down the boards. If you are glueing the boards, remember to glue the subfloor not the boards - spread adhesive with a trowel before pressing the board down into the adhesive. If you are nailing the boards, nail the boards at a thirty-degree angle - and use a rubber mallet to knock the boards together.
When you reach the end of a row of boards, you will likely have to cut the panels with a circular saw. Remember again to leave 15mm for your expansion gap. It’s then time to replace the skirting boards to fill in the expansion gap. You can use the old skirting board that you removed, but it’s often a good idea to replace the skirting board, significantly if damaged during removal.


